pouring epoxy table top
Choose a table size. We measured and cut Sand the top and the sides till it is smooth.

Pin On Resin Countertops
This prevent bubbles and air from being trapped under the resin.

. Pour enough down the center of the countertop to cover the entire surface then spread it around with a roller. 1-Use a heat gun to warm the epoxy in the bottles prior to mixing. Any leftover bubbles will get hit with a heat gun when we do our flood coat.
RIVER TABLE EPOXY. The epoxy and the hardener that I used are mixed one to one ratio. Maintain the temperature in your work area at 70-80F until the table top is cured.
Measuring in separate containers or pouring into another one will change the ratio of the mixture. MAX 1618 AB is applied onto the tabletop to create a very clear color stable resin system to a thickness that produces a deep transparent coating that is. The first thing you need to do is pick a specific table size you like to end up with.
One section was poured 55 when the directions call for 70-85 degree F. The next section was poured with 2 parts base resin and 1 part. But since this is a test I didnt feel the need to use that much on this table top.
The goal is to create an even layer about 18 in. Once your first coat has cured overnight you can pour on successive layers. We decided poured one project separated into 4 sections.
As the epoxy heats the bubbles escape and come to the surface. Pour Part A into a container using the plastic utensils the epoxy comes with. You will see some bubbles appear in the mixture but dont get nervous.
Recoat after 4-6 hours up to 12 hours directly on the previous layer. I have made dozens of tables and still find it best to make each side 1 longer than your desired finished size 2 overall longer and 2 wider. When I do the epoxy pour on my counter top I will be using upwards of 6 to 8 ounces per square foot.
Always seal porous organic materials before pouring epoxy over it If you are pouring epoxy over an organic material like wood or leaves always seal it before. You can pour epoxy resin up to 18 per coat and up to 1 thick per project. How to prevent exotherm.
Always follow the instructions for the proper mix time for mixing parts A and B. Most of them will be released during the curing process. Use a plastic epoxy spreader to help spread the epoxy evenly.
2-When mixing always use one container. Some epoxy is 21 ratio so make sure to read the manufacturers instructions carefully. Dont exceed the maximum pour depth which is typically 18 to ¼ per layer for table top epoxy systems.
We recommend using a color pigment glow powder or alcohol ink with the first coat of your project so that you dont see any white streaks from the base layer beneath it. When removing bubbles keep the heat gun or small torch moving and wave it quickly back and forth. Step 10 Roll the edges.
Step 1- Cut wood top for the DIY epoxy pour console table We used two 34 plywood to make a 1-12 thick wood top. Then make it bigger. The easiest way to make it more manageable is to brush on a coat of epoxy and let it cure for 46 hours before doing the final pour.
STEP 6 POP BUBBLES LET CURE Remove surface bubbles by waving a hair dryer or heat gun quickly back and forth just above the surface. It not only makes the pour from the bottles easier but will ensure its at a proper mixing temperature. Wait 4-8 hours at 70F between each flood coat.
3-Gallons 2 15-Gal Kits Deep Pour Epoxy for thick 2-3 deep single epoxy river pouring or epoxy clear casting that offers a super clear epoxy like smooth glass more 4. Step Three Apply a seal coat of epoxy With these finishes bubbles are the main problem that will have to be dealt with. Keep the epoxy puddle on top of the counter at this point but get it into the corners and near the edges.
Thick across the entire counter. Next we traced around the top of the base following the curves adding 1-12 for overhang and cut.

Resin Pour Painted Table Top With Natural Wood Legs Embellished With Shells And Real Sand

55 Amazing Epoxy Table Top Ideas You Ll Love To Realize

Easily Refinish Countertops With Epoxy

Diy Epoxy Resin Coffee Table
How To Make A Diy Epoxy Resin With Pigment Table Top

Resin Table Top Epoxy Coffee Table Top Epoxy Table Top Wooden Table Top Custom Epoxy River Table Top Resin Din Table Epoxy Din Table

Pin Page

Resin Table Top Epoxy Coffee Table Top Epoxy Table Top Etsy Resin Table Top Epoxy Table Top Resin Table

Custom Epoxy Resin River Waterfall Table Etsy Canada

Fashion Ocean Wave Resin Table Spot Resin Wrap Epoxy Resin Etsy Resin Table Wood Resin Table Epoxy Resin Table
Custom Tabletop With Epoxy Resin Inlay 3d Seascape Painting Worktop Big Wall Art Bar Counter Dining Table Large Sea Wall Decor Beach

Resin Poured Oceanic Wave Wood Kitchen Counter Top

Epoxy Table Top Round Table Epoxy Resin River Handmade Dining Furniture Transparent Epoxy Resin Table Top Home Kitchen Living Decors

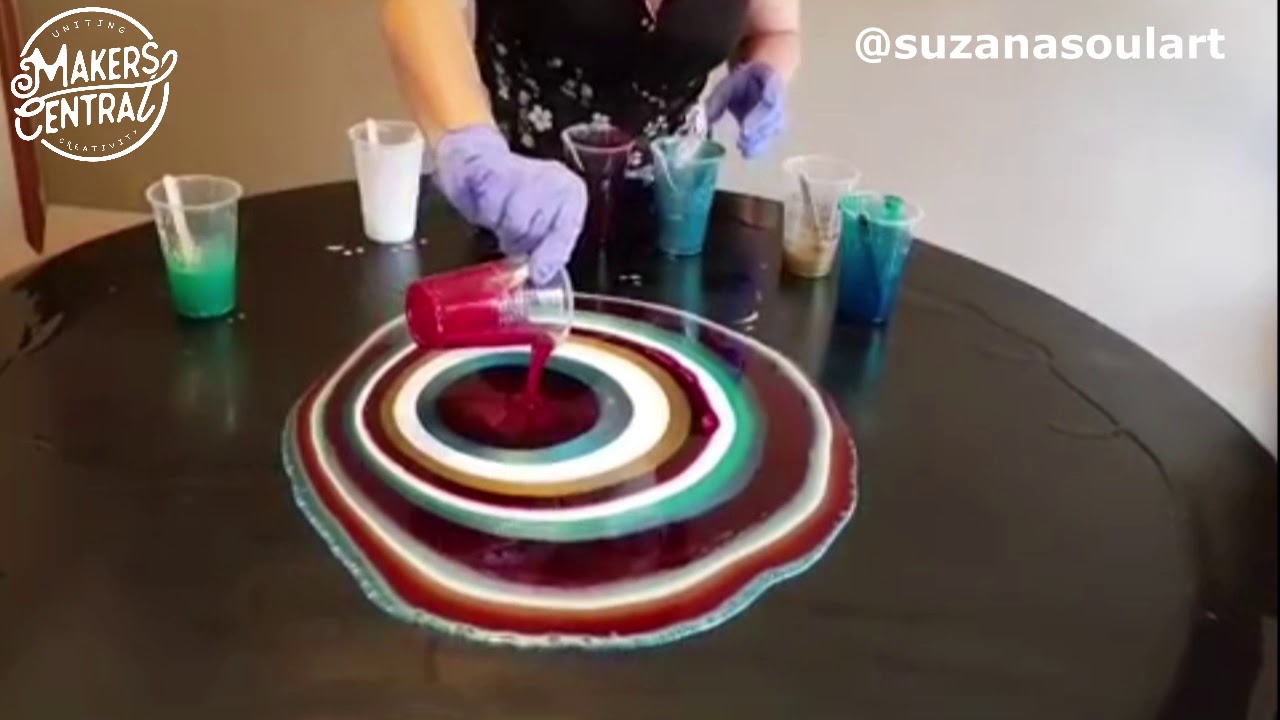
Countertop Epoxy On Instagram Another Gorgeous Dirty Pour Done During Our Intro Epoxy Resin Workshop This Past Week With Our Students The Pops Of Color And Glitter

Sold Unique Coffee Tables Epoxy Resin Art

Diy Epoxy River Table With Waterfall Fixthisbuildthat

Luxury Epoxy Resin Dining And Coffee Table Mdf Board Custom Made Vivid Edge Premium Quality Handcrafted Personalized Table Home Decor
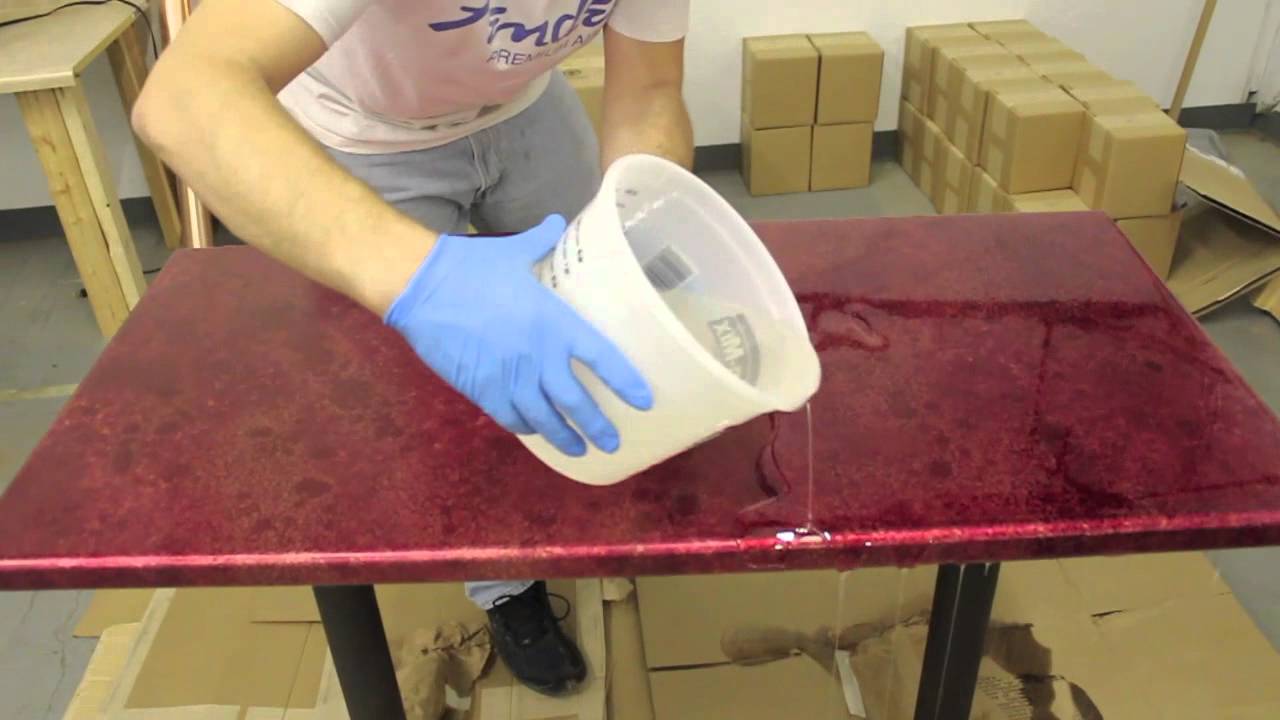
Table Top Epoxy Tutorial Tabletop Epoxy Resin Furniture Epoxy Table Top Resin Table

Table Top Epoxy Pour On 2 Part Resin Scams Buyer Warnings
No comments for "pouring epoxy table top"
Post a Comment